A Practical Guide to Printing Flawless Custom QR Code Stickers
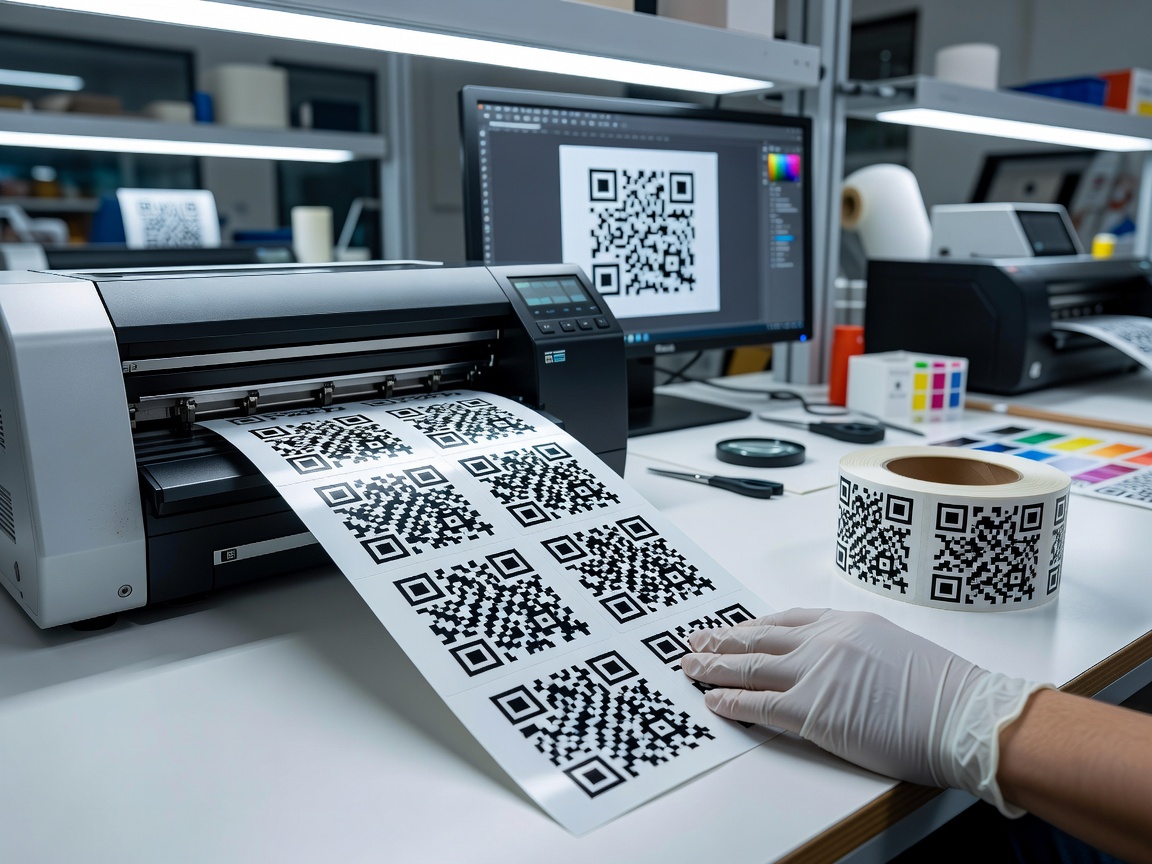
Engineering Scannability: Sizing, Contrast, and File Preparation
To print QR code stickers that scan reliably, start with a high-resolution vector or 300+ DPI file, keep the required quiet zone intact, choose a durable matte or vinyl substrate, and run multi-device pre-flight tests before committing to a full run. The sizing and contrast details below will help you execute each of those steps correctly.
The 10:1 Sizing Formula and Scannability Thresholds
When designing physical stickers, guesswork is the enemy of scannability. A standard rule of thumb across the commercial printing industry is the 10:1 distance-to-size ratio. This formula dictates that the width of the printed QR code should be approximately one-tenth of the expected scanning distance.
If a client scans a sticker on a desktop consultation folder from 10 inches away, a 1-inch (25.4 mm) code functions smoothly. If you place a QR sticker on an informative wall display in a medical clinic lobby where visitors stand 40 inches away, the code itself must measure at least 4 inches across.
| Scanning Scenario | Typical Distance | Minimum QR Width | Ideal Finished Sticker Size |
|---|---|---|---|
| Handheld Legal Folders / Badges | 6–10 inches (15–25 cm) | 0.8 in (20 mm floor) | 1.0–1.25 in (25–32 mm) |
| Desktop Displays / Consult Binders | 12–18 inches (30–45 cm) | 1.25 in (32 mm) | 1.5–2.0 in (38–50 mm) |
| Wall Signage / Office Directories | 3–4 feet (90–120 cm) | 3.5–4.0 in (90–100 mm) | 4.5–5.0 in (115–127 mm) |
| Trade Show Banners / Wayfinding | 6–8 feet (180–240 cm) | 7.0–8.0 in (180–200 mm) | 8.5–10.0 in (215–254 mm) |
For close-range handheld materials, consider 20 mm (roughly 0.8 inches) as the absolute physical floor. While modern flagship smartphones with high-end macro lenses might read an 18 mm code under perfect studio lights, older mobile devices, low-light conference rooms, or off-angle scans will fail consistently below 20 mm. Sizing at 25 mm or larger provides a comfortable safety buffer, especially when learning how to make a functional QR code that accommodates dense payloads like comprehensive vCards or encrypted asset identifiers.
Protecting the Quiet Zone and Error Correction Levels
Every functional QR code relies on a surrounding buffer known as the quiet zone. Defined by the international ISO/IEC 18004 standard, this margin must be a solid, uninterrupted space equal to at least four individual data modules (the tiny square blocks forming the code) on all four sides.
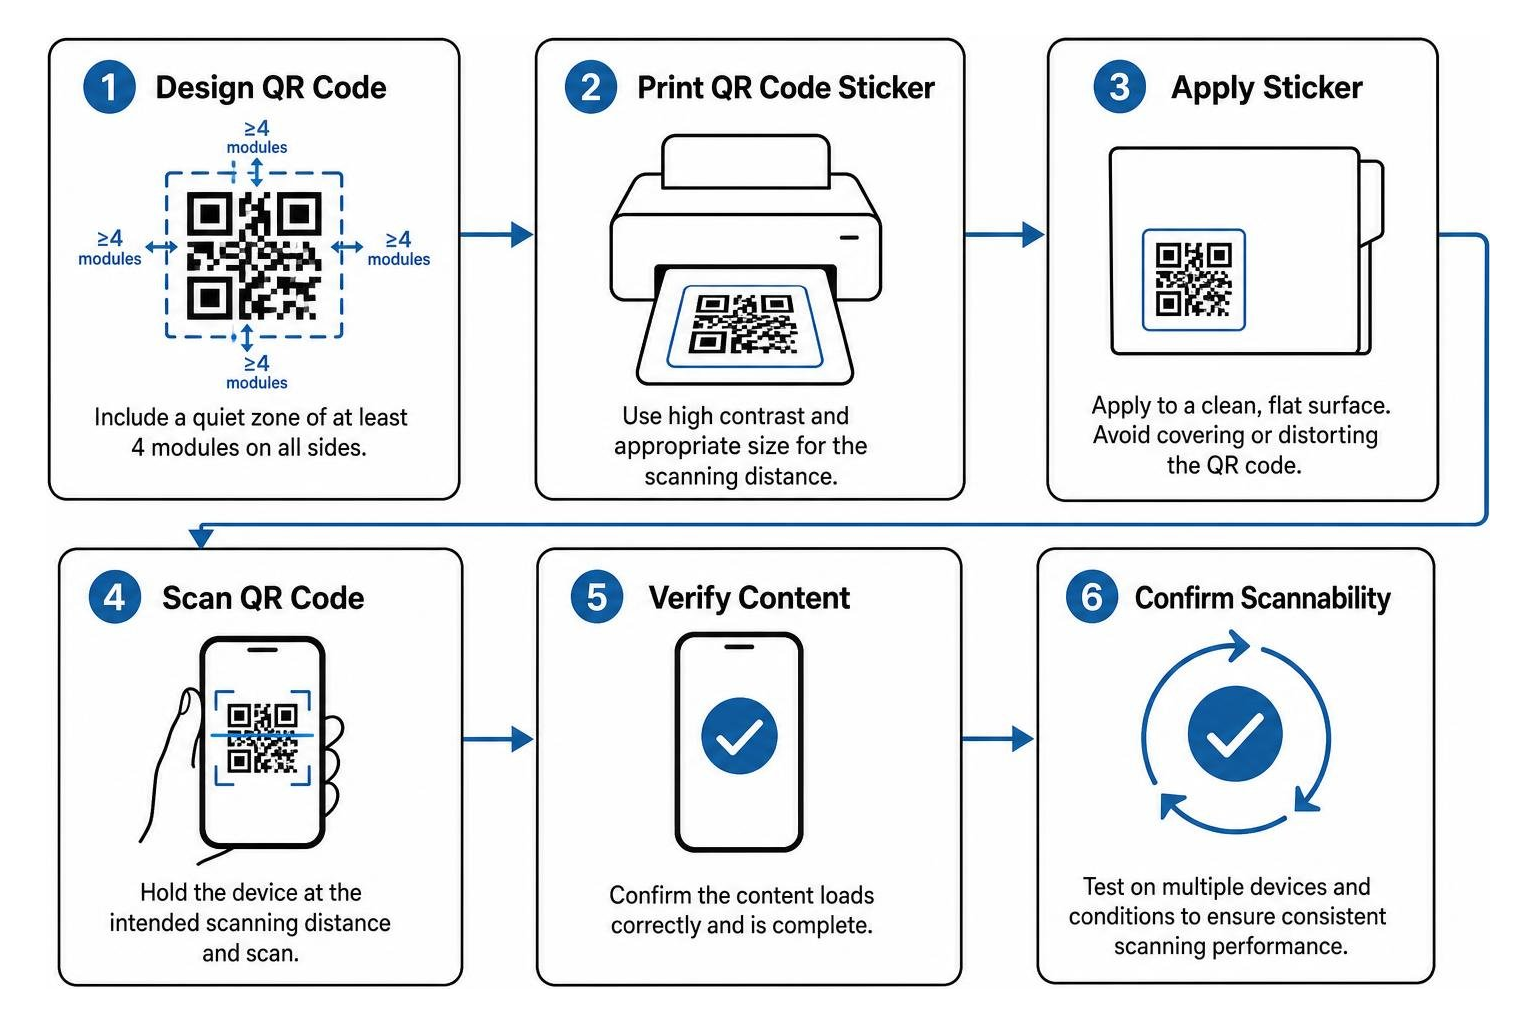
When graphic elements, text borders, or die-cut trimming encroach on this four-module margin, smartphone camera sensors cannot identify where the surrounding artwork stops and where the data grid begins.
Beyond the border, scannability hinges on data recovery and optical contrast:
- Error Correction Levels: QR standards feature four levels of built-in data redundancy:
- Level L (Low - 7%): Best for clean, simple URLs with zero visual obstructions.
- Level M (Medium - 15%): The standard default for most commercial and document labels.
- Level Q (Quartile - 25%): Recommended for industrial stickers or high-touch corporate materials subject to scuffing.
- Level H (High - 30%): Required whenever integrating a central company logo or icon, allowing up to nearly a third of the grid to be covered or obscured without data loss. That higher error correction makes the module grid much denser, requiring a larger overall sticker size.
- Contrast Ratios: Optical readability requires dark modules on a clean, light background. While tools for designing custom QR codes in Adobe Express let you experiment with rich brand palettes, avoid low-contrast combinations like slate gray on charcoal or gold foil on cream. Never invert the values (white code on a black square), as legacy camera decoders are hardcoded to search exclusively for dark positioning squares.
Vector vs. Raster Formats and Print Resolution
The file format you send to the press dictates whether your printed edges remain razor-sharp or dissolve into blurry pixels. QR codes are precision geometric matrices; even minor pixel interpolation can cause a scanner to misinterpret adjacent bits.
- Vector Formats (SVG, PDF, EPS): Always the gold standard for high-end production. Vectors scale infinitely without rasterization artifacts, preserving true mathematical squares and crisp module boundaries during prepress imposition.
- Raster Formats (PNG, TIFF, JPG): If you must supply a raster image, export at a minimum of 300 to 600 DPI rendered at 100% of final print size. Never stretch a 72 DPI screen capture onto a label canvas. Anti-aliasing software will add gray gradient pixels along module edges to soften the curves, inadvertently destroying edge definition under camera magnification.
Understanding these technical distinctions explains QR codes and why you should use them in your printing and marketing pieces when producing polished corporate collateral.
Choosing Premium Materials and Finishes for Professional Applications
Paper vs. Vinyl Substrates for Indoor and Heavy-Use Settings
A technically perfect digital file will still fail if applied to a substrate ill-suited for its environment. Professional firms, medical facilities, and executive offices require durable sticker materials that convey quality while maintaining long-term legibility.
- Uncoated & Coated Matte Paper: Ideal for high-end administrative use, corporate presentation folders, proposal inserts, and indoor documentation binders. Paper delivers exceptional ink absorption and crisp edges without surface sheen, though it should be kept away from moisture and heavy abrasion.
- Durable White Vinyl & Synthetic BOPP: The go-to choice for medical equipment labeling, laboratory instruments, legal asset tagging, and municipal property markers. Polypropylene (BOPP) and vinyl resist tearing, water, hand oils, and harsh sanitizing chemicals.
When planning executive materials, exploring custom label printing services ensures your adhesive selection—whether permanent acrylic or clean-peel removable—matches the target surface. For a deeper breakdown of adhesive properties, consult our QR code sticker paper ultimate guide.
Matte vs. Gloss Finishes on Curved and Reflective Surfaces
Surface reflectivity plays an enormous role in mobile camera decoding. Gloss coatings add punch and saturation to brand colors, but under overhead office fluorescent fixtures or outdoor sunlight, glossy laminations produce specular glare—blinding camera sensors and washing out module contrast.
| Substrate & Finish Combination | Ideal Environment | Durability Profile | Glare Risk | Best Use Case |
|---|---|---|---|---|
| Matte Coated Paper | Indoor Executive Suites | Moderate (Dry Only) | Very Low | Corporate Folders, Financial Proposals |
| Matte Laminated Vinyl | Versatile (Indoor / Outdoor) | High (Moisture & UV Resistant) | Lowest | Medical Devices, Executive Asset Tags |
| Gloss Laminated Vinyl | Retail / Promotional Display | High (Scuff Resistant) | Moderate to High | Branded Event Merchandise, Flat Signage |
| Clear Polypropylene (BOPP) | Tinted Glass / Smooth Metal | High (Chemical Resistant) | High | Glass Partitions (Requires White Backing Under Code) |
Curved substrates (such as medical sample canisters, architectural drafting tubes, or stainless steel office water bottles) compound this challenge. Cylindrical curvature warps the square geometry of the matrix. If you combine that geometric distortion with specular gloss reflection, scanning reliability drops significantly.
For curved or high-glare environments, always specify a matte laminate or soft-touch protective finish to diffuse light and provide a uniform scanning plane.
Step-by-Step: How to Print QR Code Stickers for Maximum Reliability
How to Print QR Code Stickers on Sheet Labels and Avery Templates
Printing multi-up label sheets on local office printers introduces mechanical variables, primarily die-cut sheet alignment and paper feed drift.
- Adopt a Template-First Approach: Rather than dropping a QR code onto an arbitrary document, download the exact template geometry matching your label stock (such as standard Avery 5160 for US Letter or L7160 for A4 sheets).
- Defeat the "Fit to Page" Trap: In your desktop print dialog, ensure scaling is set to "Actual Size" or 100%. Deselect options like "Scale to Fit" or "Shrink Oversized Pages," which alter template dimensions and cause the artwork to drift across the die-cut grid.
- Account for Label Bleed and Margins: Maintain at least a 2 mm buffer between your QR code’s quiet zone and the die-cut boundary of the label. Standard office desktop laser and inkjet feed trays frequently shift 0.5 to 1.5 mm during operation.
- Evaluate Usable Area: On a tight Avery 5160 label (1" × 2.625"), the printable height restricts your QR code to roughly 21 mm wide after accounting for top and bottom quiet zones. While functional, it leaves little room for brand text or logos, making larger formats preferable for executive collateral.
For an extensive technical review of sheet production, review our printing QR code stickers ultimate guide.
How to Print QR Code Stickers in Bulk with Variable Data
Enterprise operations, IT divisions, and compliance teams frequently require hundreds or thousands of unique, serialized QR stickers for asset management, client file indexing, or personalized seminar materials.
- Establish a Data Source: Structure a clean CSV or spreadsheet file containing your destination URLs, unique hardware IDs, or encrypted authentication keys.
- Batch Vector Generation: Convert each record into an individual high-resolution SVG or 300+ DPI PNG file using automated bulk generator utilities, ensuring uniform error correction and sizing parameters across all records.
- Prepress Variable Data Merge: Import the dataset into commercial layout software, linking each record to designated sheet or roll coordinates alongside static corporate branding.
- Deploy Dynamic Routing for Long-Term Control: Whenever possible, link asset stickers to dynamic redirect paths on your secure domain. This allows administrators to update document destinations or system endpoints years down the line without needing to strip and replace physical labels in the field.
Leveraging variable data transforms basic labels into intelligent assets, demonstrating the power of labels and stickers in building a bold brand across modern client touchpoints.
Pre-Flight Testing and Multi-Device Quality Assurance
Before releasing a multi-thousand-unit label order to production, physical proof testing is mandatory. A screen preview does not represent optical real-world conditions.
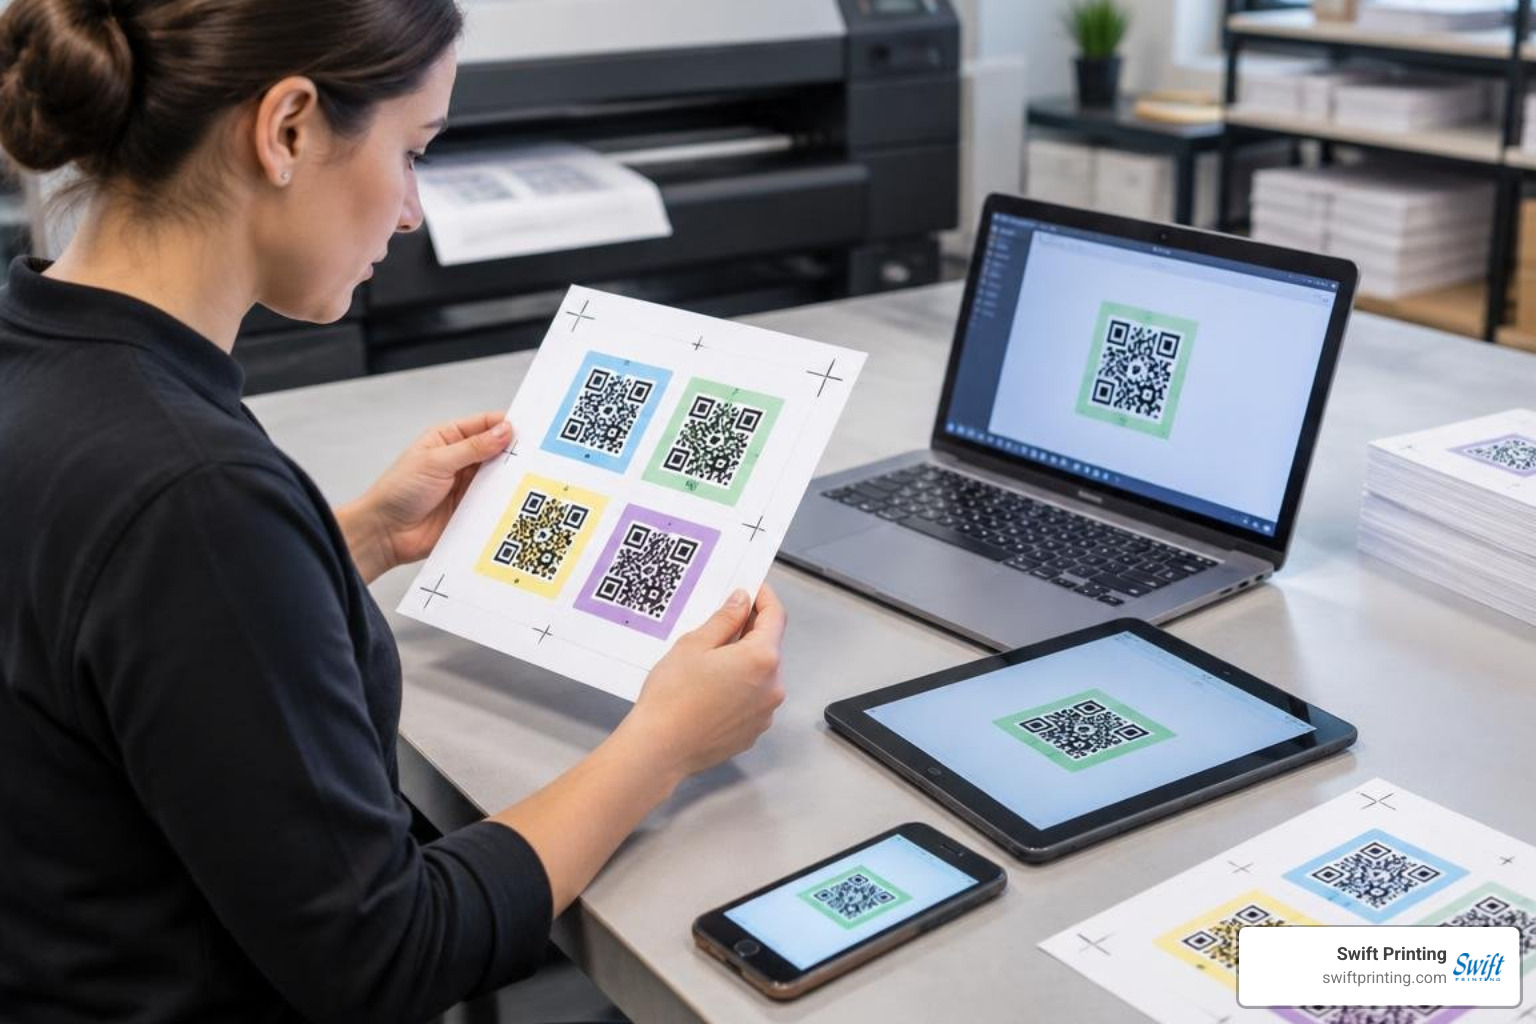
- Test Across Diverse Hardware: Audit physical proofs using a spectrum of smartphone models—including budget devices with fixed-focus lenses, standard tablets, and premium smartphones equipped with multi-sensor arrays.
- Vary Lighting and Angular Extremes: Scan test stickers under warm indoor tungsten lighting, cool overhead fluorescents, harsh direct sunlight, and dim conference room conditions. Test scanning straight-on as well as from severe 45-degree angles.
- Mount to Target Substrates: Adhere test proofs to their actual real-world substrates (such as brushed aluminum cases, textured presentation linen folders, or dark cardstocks) to verify that background opacity prevents bleed-through shadows from corrupting contrast.
Detailed pre-flight validation steps are outlined in our practical print QR code stickers guide.
Frequently Asked Questions About Printing QR Code Stickers
Should I use static or dynamic QR codes for printed stickers?
For professional and high-stakes corporate environments, dynamic QR codes are strongly recommended. A dynamic QR code encodes a short redirect URL, which keeps the visual matrix simple, spacious, and easy for cameras to resolve even at smaller dimensions. Most importantly, dynamic codes allow you to edit the backend destination URL at any time without reprinting the physical sticker, while capturing robust scan analytics across campaigns.
Static QR codes encode raw text, complex contact cards, or direct URLs permanently into the black-and-white grid. They require no hosting servers and never expire, making them ideal for internal Wi-Fi access tags, fixed hardware serial numbers, or permanent legal disclosures. However, if your encoded web address changes or breaks, every static sticker already printed and applied becomes instantly obsolete.
What is the absolute minimum size for a QR code sticker to scan reliably?
The absolute structural floor for close-range handheld scanning is 20 mm × 20 mm (approx. 0.8" × 0.8"). Anything smaller risks severe failure rates across standard consumer mobile devices. For dependable, frictionless scanning across diverse client hardware and varying ambient room light, we advise keeping the core QR code matrix at 25 mm × 25 mm (1.0" × 1.0") or larger, adding extra perimeter space for the four-module quiet zone and corporate branding.
If your code contains dense payloads—such as full vCard contact details or complex alphanumeric encryption keys—the minimum dimensions must scale up accordingly to prevent individual modules from blending together during ink application.
Why is my printed QR code sticker failing to scan?
QR sticker scan failures typically stem from five physical or prepress errors:
- Compromised Quiet Zone: The white boundary around the grid was trimmed off during die-cutting or crowded out by nearby decorative borders.
- Insufficient Value Contrast: Using subtle pastel colors, light gray ink on white paper, or inverted color schemes that disorient mobile camera firmware.
- Optical Surface Glare: A high-gloss lamination reflecting direct overhead lighting directly into the camera lens, creating whiteout hotspots across the matrix.
- Curved Substrate Distortion: Wrapping a flat, dense QR code around a narrow cylinder or bottle without adjusting scale or applying a matte protective overcoat.
- Printhead Artifacts: Low-resolution raster files (under 300 DPI) or dirty inkjet nozzles causing banding, pixel bleeding, or softened module corners.
Precision Printing for High-Stakes Professional Collateral
A printed QR code sticker is more than a convenient shortcut—it is an interactive bridge between your organization's tangible presentation and your digital enterprise infrastructure. When a prospective client, legal partner, or medical patient points their camera at your physical materials, the response should be instant, seamless, and flawless.
Achieving that standard requires balancing mathematical geometry, file preparation, substrate chemistry, and calibrated production equipment. At Swift Printing, we specialize in high-end commercial printing, precision die-cut labeling, and sophisticated variable-data workflows tailored for professional service firms, healthcare institutions, and corporate organizations across West Michigan and beyond.
Whether you are preparing a suite of executive presentation materials or rolling out thousands of serialized asset labels, our team ensures every print run meets exacting technical standards. Connect with our prepress specialists today to learn how to create and order flawless QR codes that elevate your brand and work perfectly on the very first scan.