Deck the Halls with DIY Paper Decorations!
Hello, fellow Christmas enthusiasts! Today, I'm thrilled to share some fun, easy, and incredibly festive DIY paper decorations that you can make to bring that extra sparkle to your home or office this holiday season. As a print shop based in Grand Rapids, Michigan, we're naturally obsessed with all things paper! These projects are not only cost-effective but also a great way to engage in the joy of crafting your own decor. So, let's dive in and start creating!
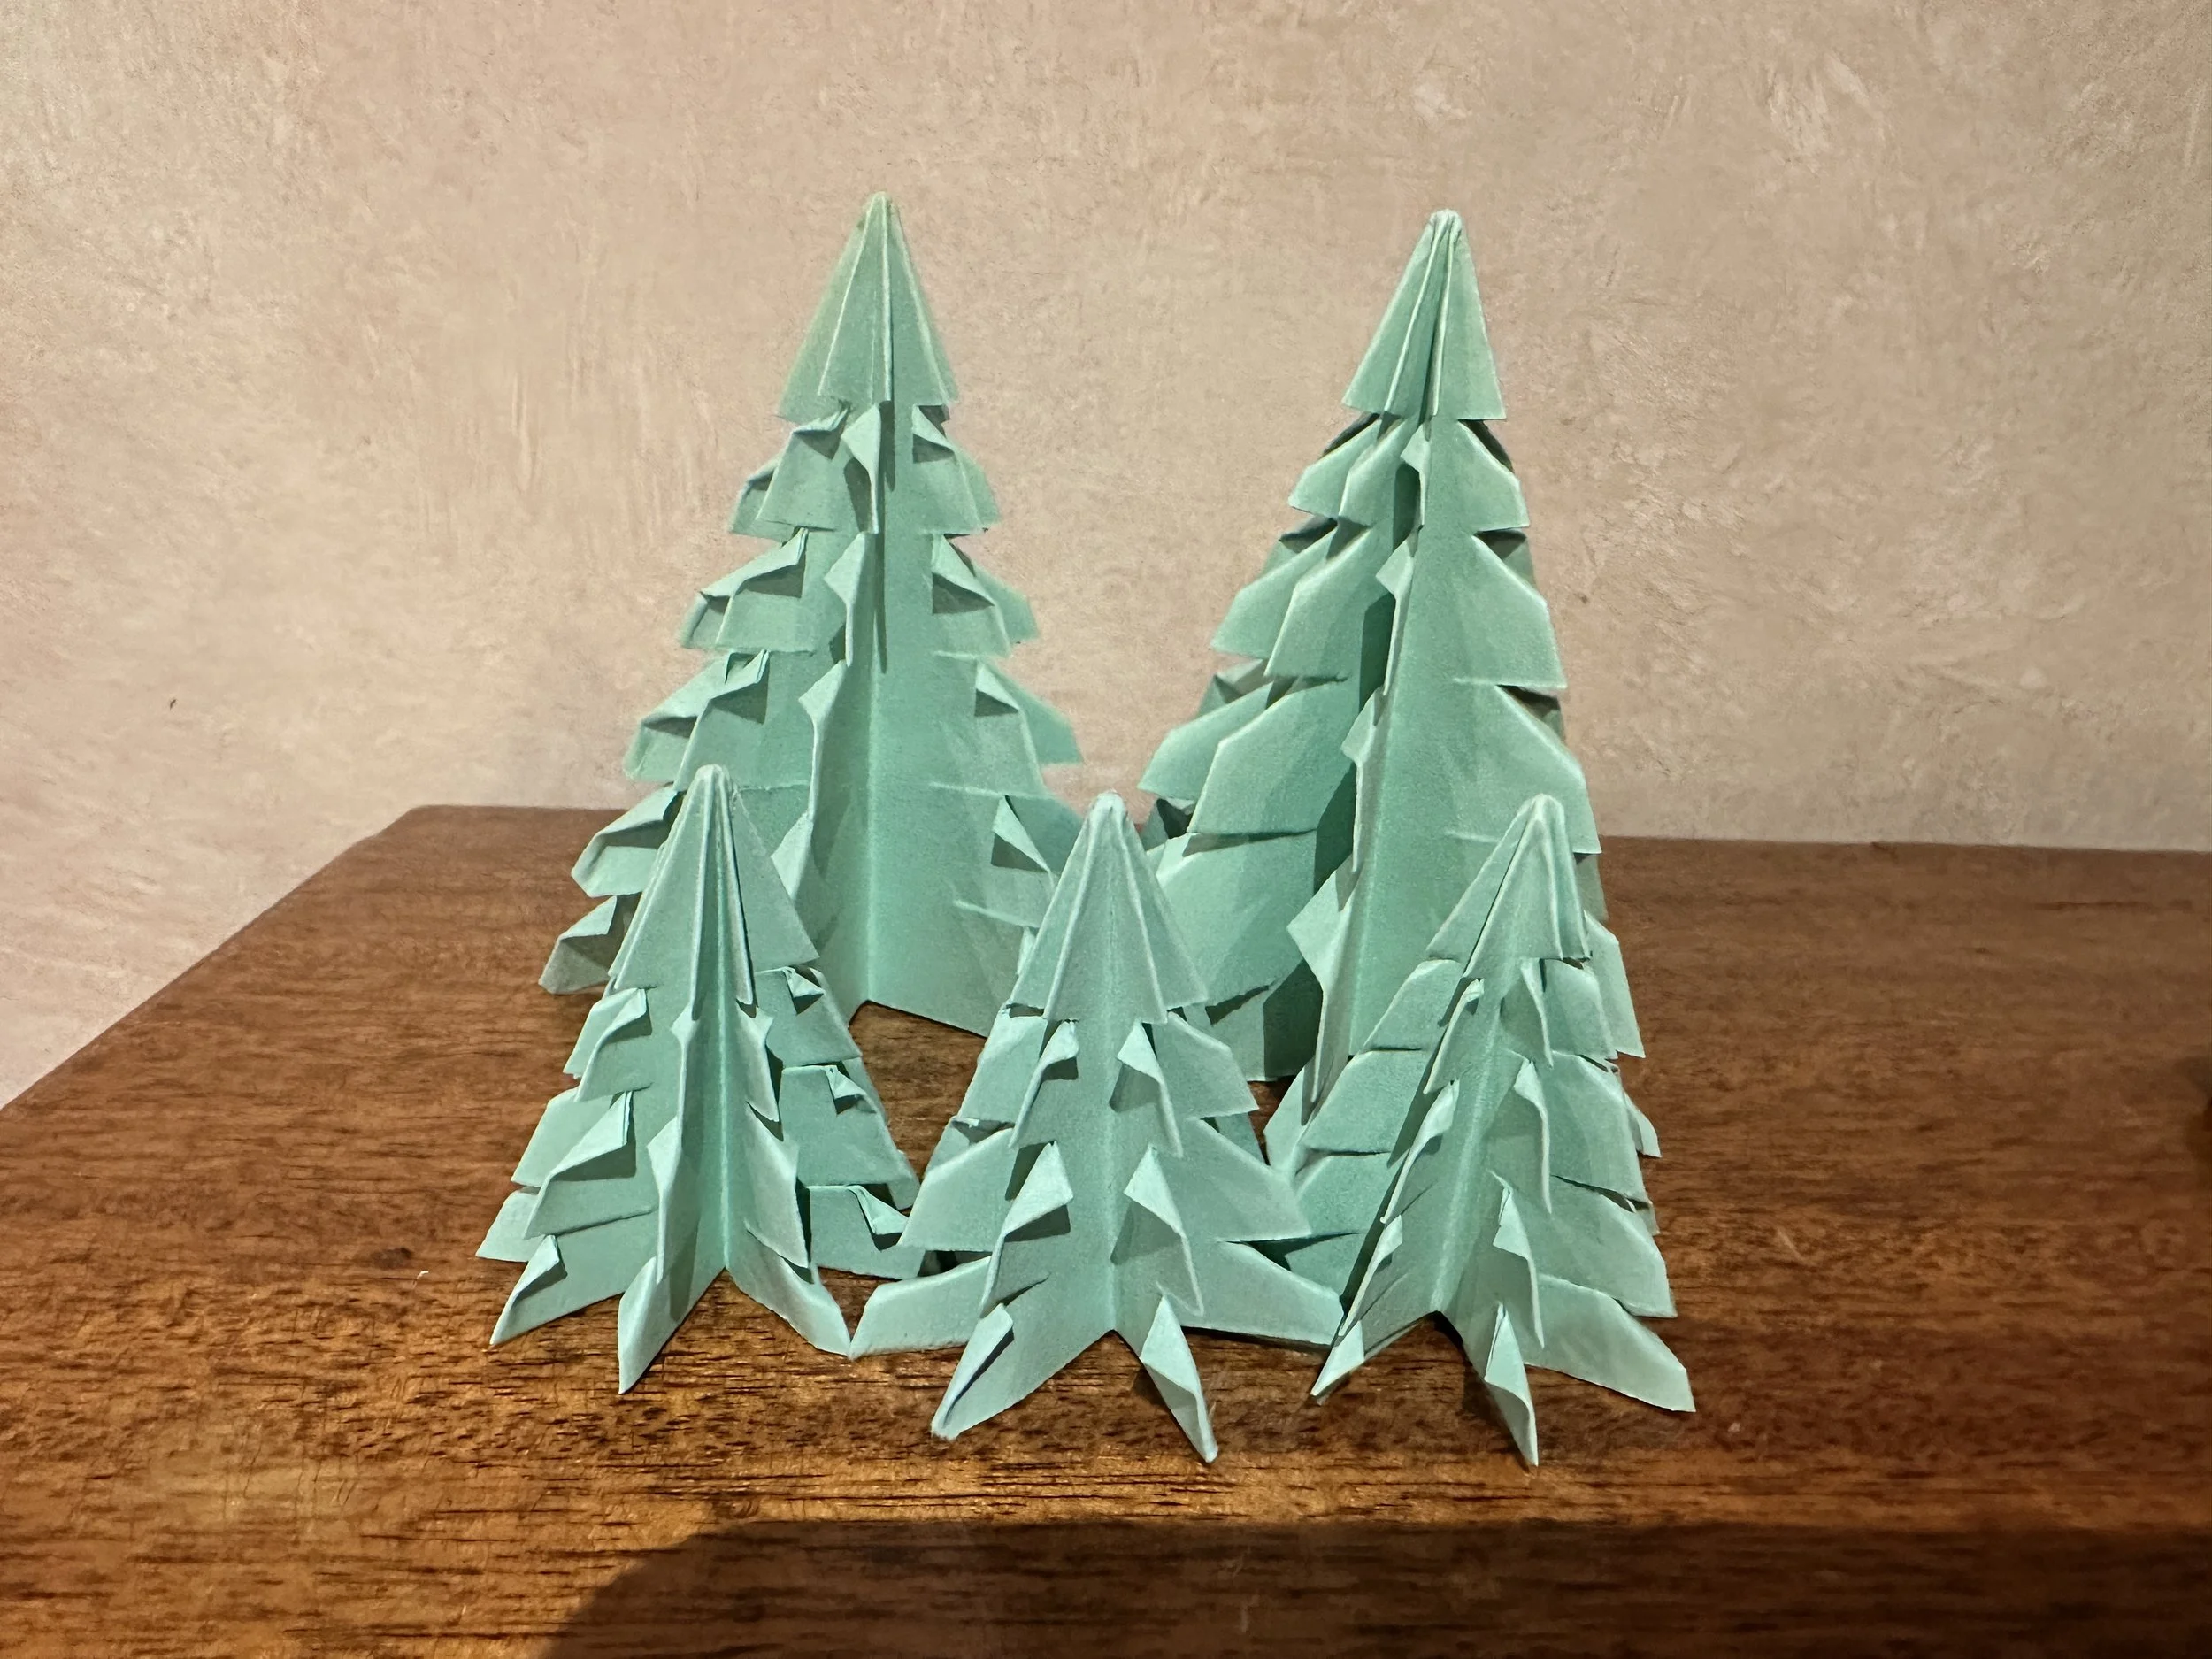
1. Delightful DIY Paper Christmas Trees
First up, we have these adorable paper Christmas trees that you can make with just one sheet of paper. Here's how you can create these charming decorations:
What You'll Need:
Plain copy paper or thicker cardstock
Scissors
Optional: Paints, glitter, or markers for decoration
Instructions:
Cut Your Paper: Start by cutting your paper into a square. The size of the square can vary depending on how big you want your tree to be.
Fold Diagonally: Fold the square diagonally to form a triangle. Then, fold it diagonally again to make a smaller triangle.
Cutting the Branches: Holding the triangle with the point facing down, make parallel cuts from the folded edge up towards the top, but don't cut all the way through. Space these cuts about an inch apart.
Unfold and Shape: Unfold everything back into the square with your cuts now creating a fringe effect. Gently pull and twist each strip to create the branches of your tree. You can curl them with a pencil for a more defined shape.
Decorate: Now, get creative and decorate your tree! You can paint it, add glitter, or use markers to add colorful details.

2. Giant Festive Snowflakes
Next, we have the giant snowflakes, which my son Blake absolutely enjoyed making at school. They're a bit more involved but look spectacular!
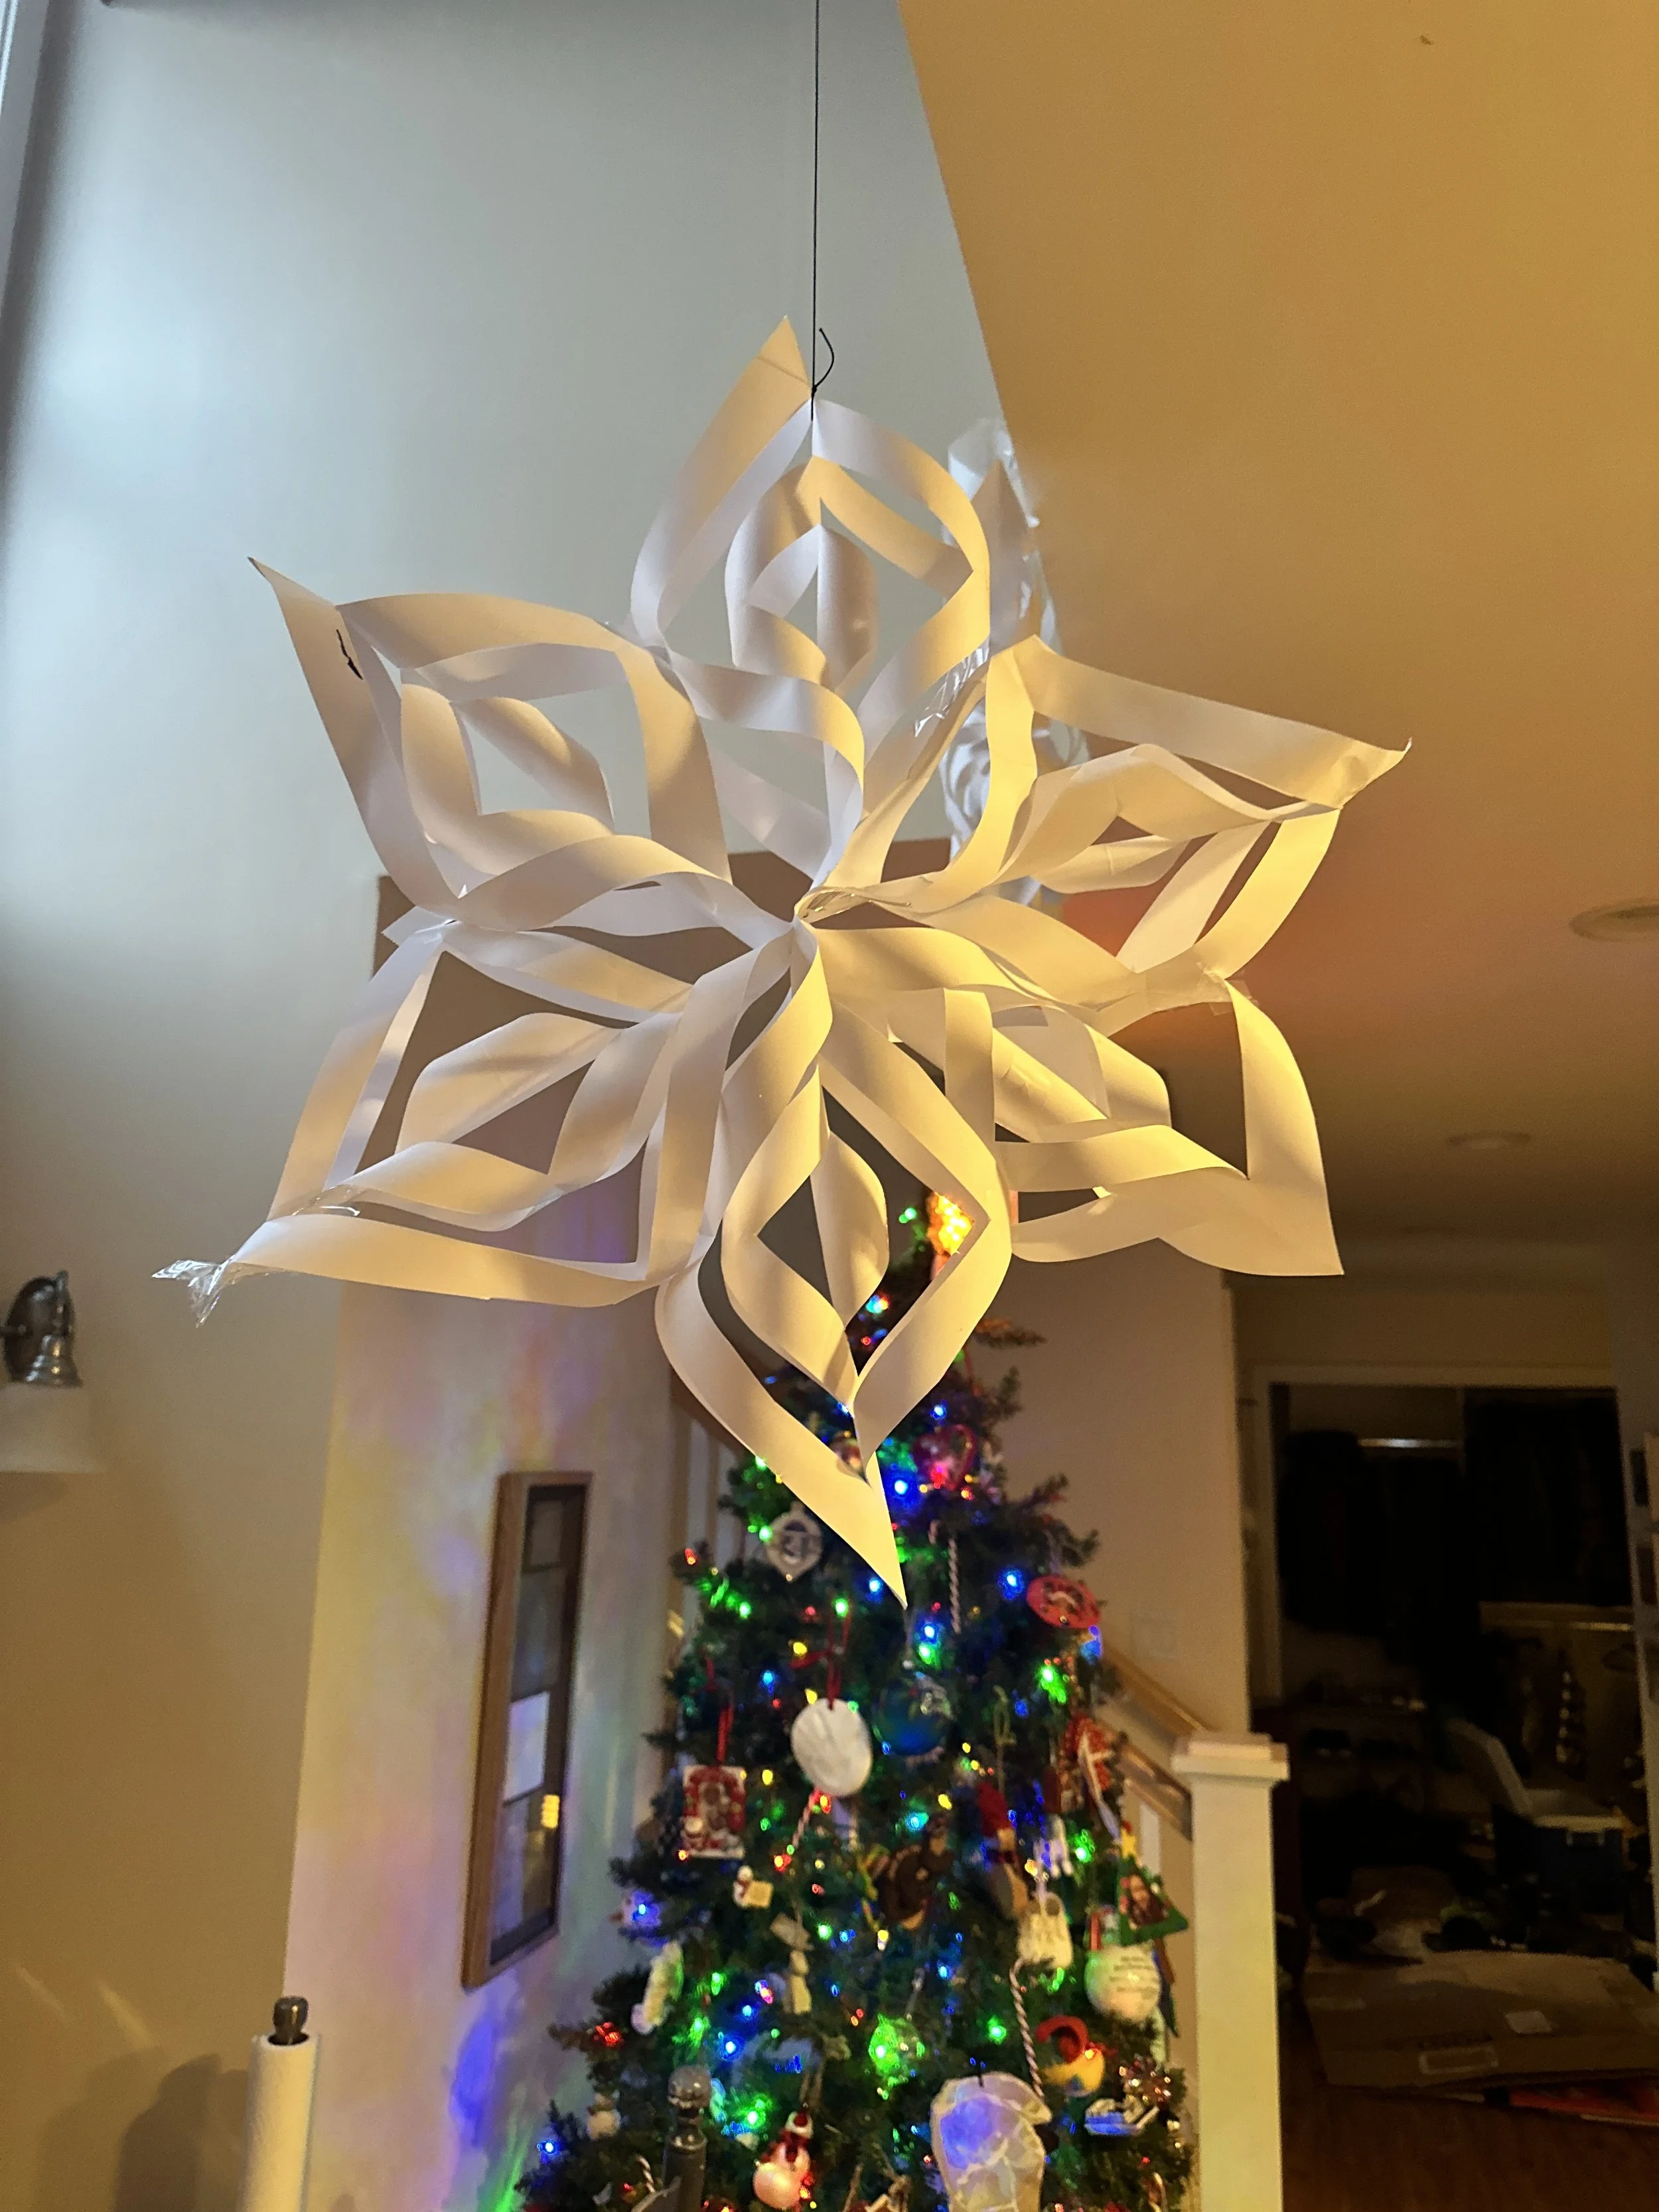
What You'll Need:
6 sheets of white paper
Scissors
Tape or a stapler
Instructions:
Prepare the Paper: Fold each sheet of paper into a triangle, then cut small strips towards the center.
Design Your Snowflake: Cut shapes along the folds—think of designs like triangles, diamonds, or rounded shapes.
Unfold and Join: Carefully unfold each piece. You should have a series of intricate designs. Staple or tape the points of each piece together at the center, then join the ends of each arm to its neighbors to form the snowflake.
Hang and Enjoy: Attach a string and hang these beauties from the ceiling or on the walls. They make any room instantly feel like a winter wonderland!
Pro tip. secure with tape at all connection points well, so they don’t come undone while hanging.
Wrapping Up with a Song
And remember, the best way to spread Christmas cheer is singing loudly for all to hear! Once you've set up your decorations, why not gather around and belt out some holiday classics?
I hope you enjoy making these decorations as much as I do. It’s a wonderful way to make memories and decorate your space at the same time. Merry crafting and happy holidays to all!
If you make any of the crafts be sure to tag Swift Printing so we can share them. :)

Santa and I posed for a photo after discussing these Christmas decorations at the North Pole. He mentioned that they are really fun for his elves to make this time of year.
About Swift Printing: At Swift Printing, we're more than just a print shop; we're a community cornerstone in Grand Rapids, Michigan, deeply rooted in a love for paper, creativity, and sustainable practices. Founded on family values and a passion for helping businesses and individuals bring their visions to life, we offer a wide range of printing services, from traditional to cutting-edge digital solutions. Our commitment to quality and our community drives everything we do, making us your local experts dedicated to excellence in print. Whether you're looking to create stunning business materials or unique personal projects, Swift Printing is here to help every step of the way. Visit us to experience the power of print in transforming ideas into reality.